Although these pictures are a few months old I wanted to post an update on the SBS for this vignette I have been working on. If you saw my first post you will remember that this will be a two figure vignette, one on foot and one mounted. Progress has been slow but this where we stand at the moment.
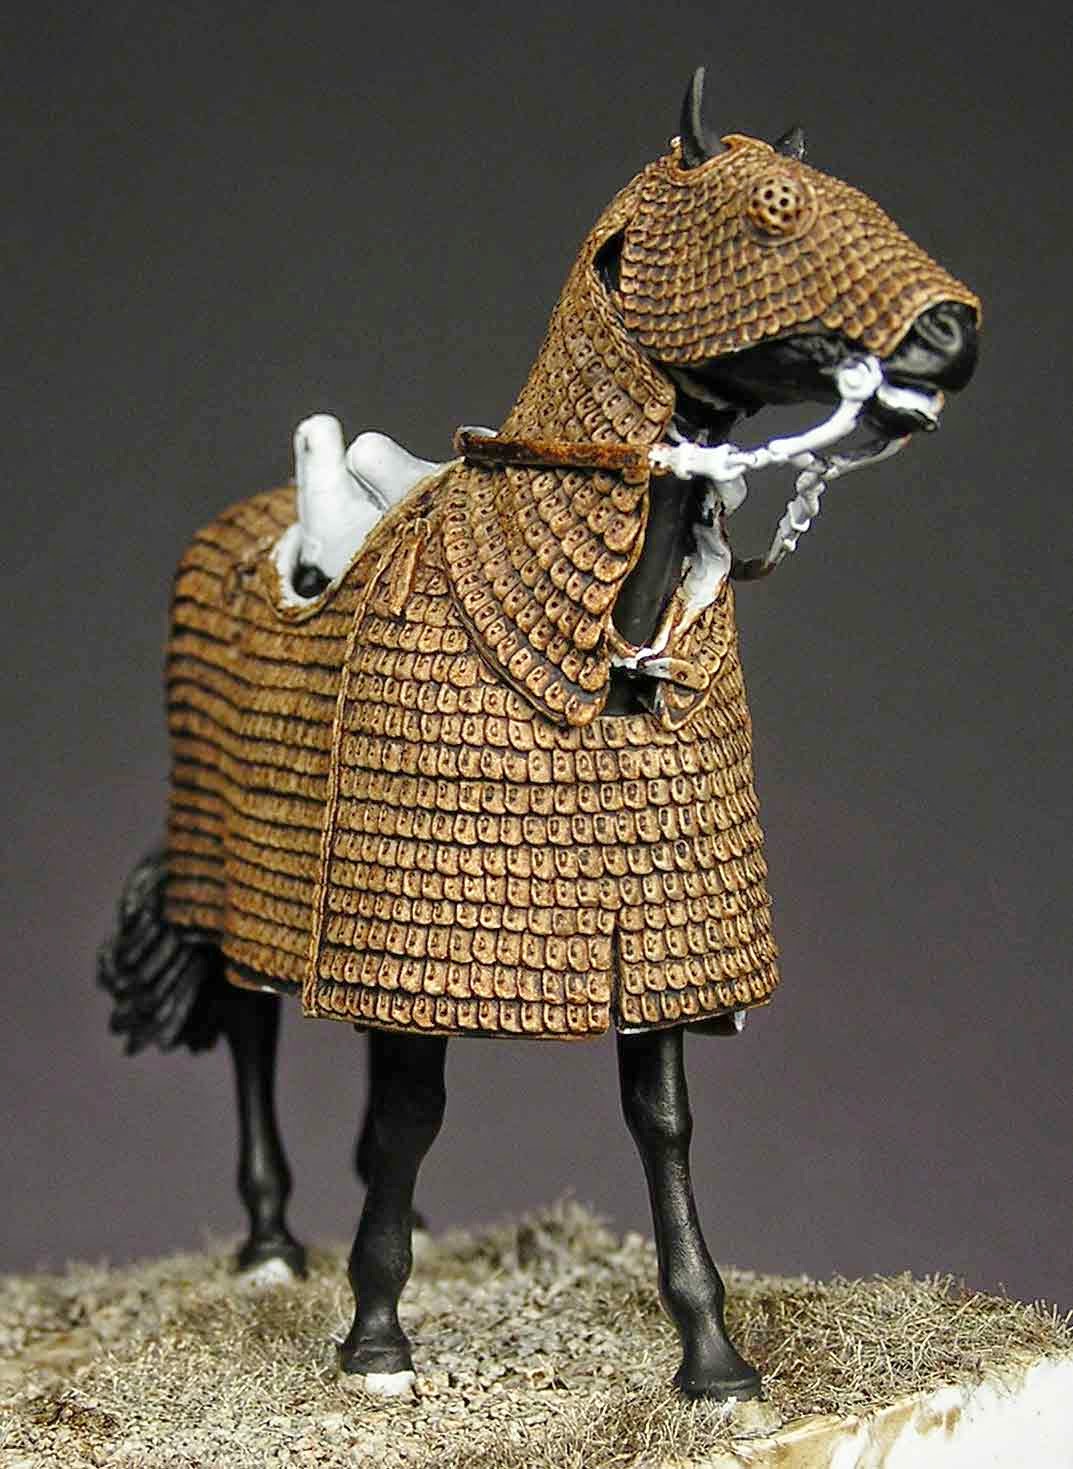
I began by painting the horse a basic mix of Mars Black and Burnt Umber. The armor was given an initial wash of Burnt Umber followed by a second wash of Burnt Umber with a bit of Mars Black added. The groundwork was given initial washes of Burnt Umber and Greenish Umber.
All of the leather was then painted with a mixture of Mars Brown and a touch of Yellow Ochre. The armor was lightly washed with Mars Black to further bring out the detail of the various plates.
The next step was to apply a thin wash of Burnt Umber to all of the leather. This ages the leather, tones down the bright base color and begins to pop out the stitching details. I have also applied some brown glazes to the horse to "warm" the tone a bit.
All of this work is designed to give a broad feel to the look of the horse and his armor. details will now begin to picked out and cleaned up. The armor plates will be NMM on these figures. A lot of my time has been taken up recently with experimentation using acrylics. This piece will be a mixture of both oils and acrylics as I try to hone some of my skills with the new medium. Cloth will be acrylic but the flesh and armor will all be oils. I have attached the rider's legs to the horse and my next post will show progress on him and the foot figure.