
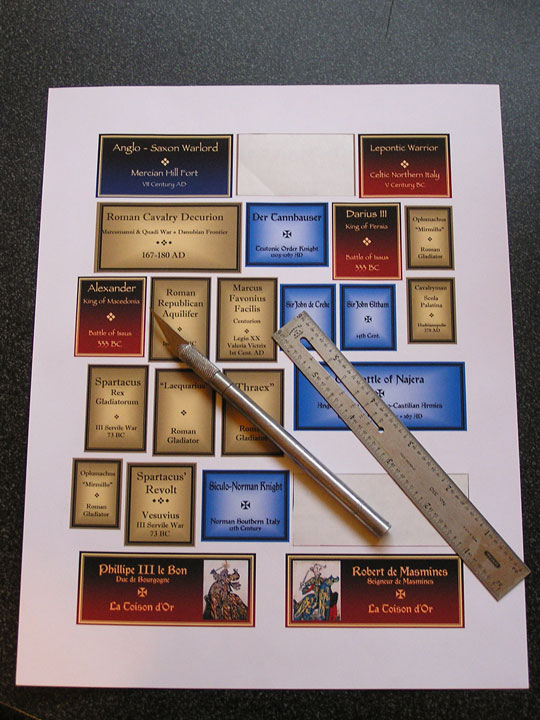
I have been asked a few times recently how I make my nameplates for the figures I complete. It's really very simple and so I thought I would write a brief blog post on my technique. Above you will see a sheet of nameplates that I have created on my computer. These are printed on sticker paper that can be purchased at any office supply store. I buy the whitest version I can find for brilliant color, solid sheet sticker paper so that I can cut the individual labels out with a blade and straight edge.
On my computer I have loaded Window's Office Suite which usually includes "Windows Publisher". I used to use Adobe Pagemaker back in the day to create all of my packaging artwork, labels and instruction sheets so I have a long history of dabbling in the simple aspects of desktop publishing layout. Microsoft's software is pretty easy to work with for simple projects like this, club fliers, instruction sheets, etc.
I begin by measuring the face of the base to determine the size of label I want. I then create a rectangle of color for the label's background. With this software you will learn quickly that there are all kind of effects you can create with the background; fades, transitions from one color to another, etc. Over this I place a rectangular border, usually in black but again, you can get creative with the colors. Simply add a text block in the middle for whatever the figure depicts and link them all together. If you are doing a series of figures you can simply copy the original and modify the type. I also paste in artwork and collect various fonts and wingdings to get creative. Search on the web and you will be surprised how much free stuff (fonts, borders, etc.) is out there.
Label sheets aren't inexpensive so as you can see I tend to lay out my labels in advance so that I won't waste any paper. All in all it is pretty simple after you play with the software. This can be done on other software packages as well so play with it.
No comments:
Post a Comment